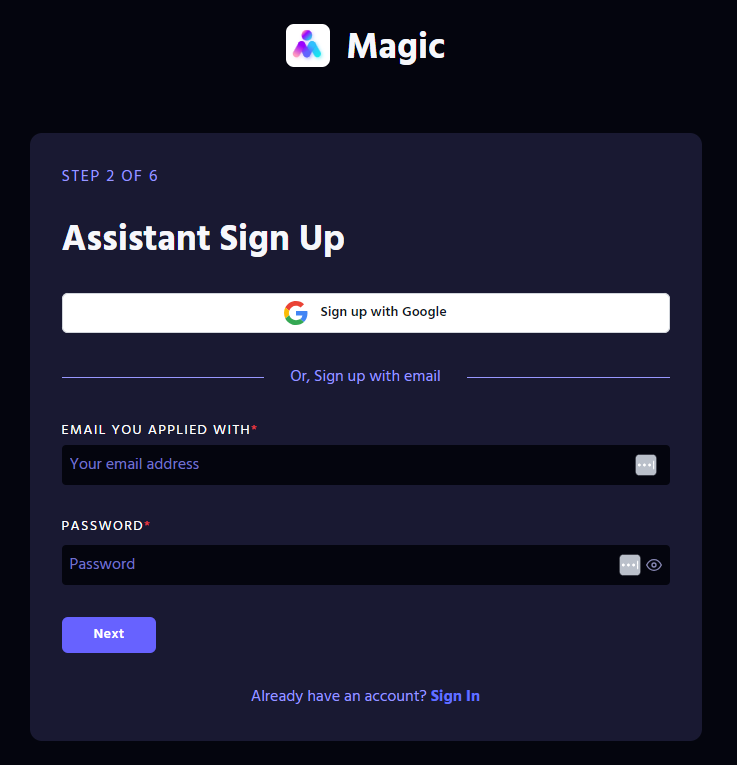
Creating an account in Magic Workspace
Go to this link, enter the details required then click “Create Account”
Note: The email must be the same as your Messager login
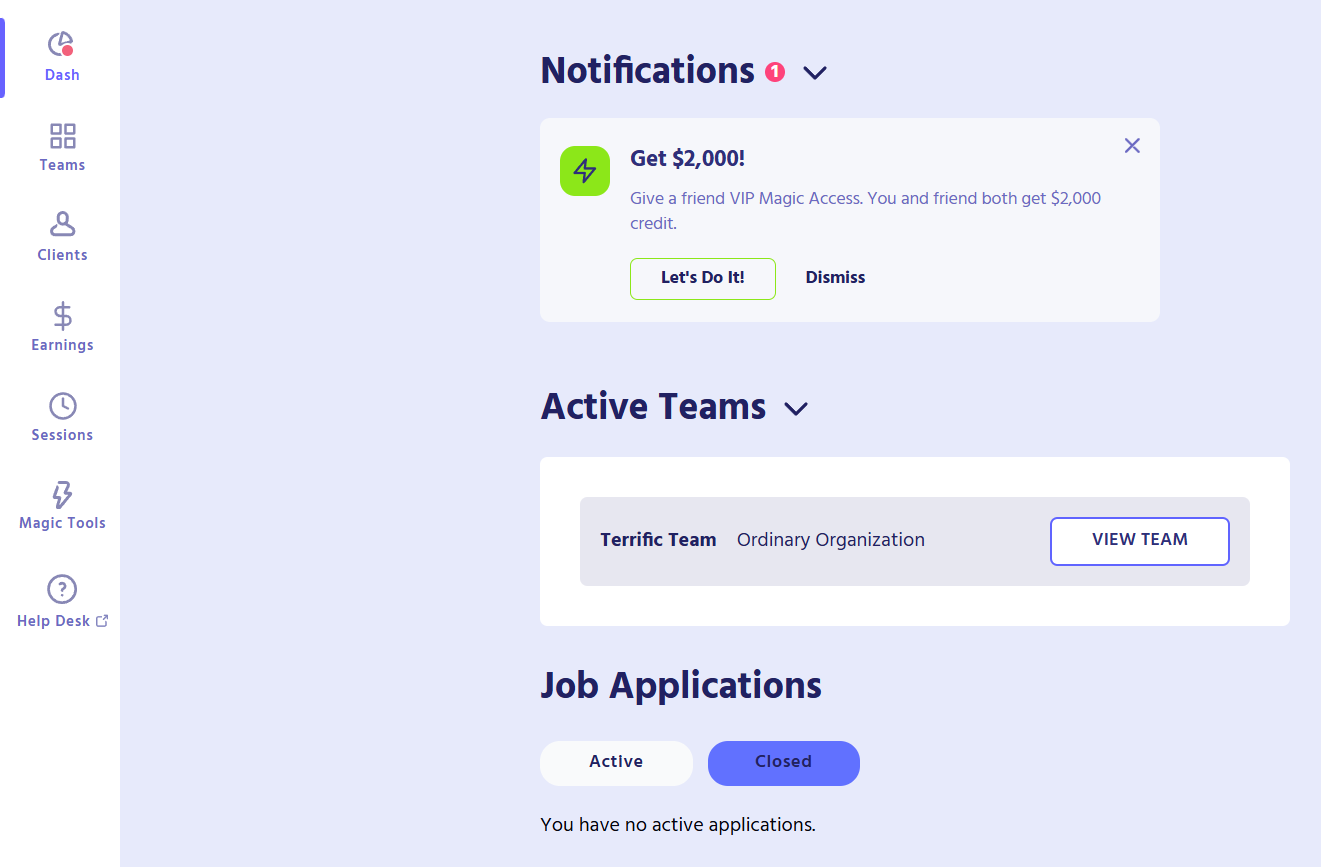
Magic Workspace Dashboard
After creating an account, your dashboard will appear as shown. Use the panel on the left side to navigate the following subsections:
- Dashboard
- Teams
- Clients
- Earnings
- Sessions
- Magic Tools
- Help Desk
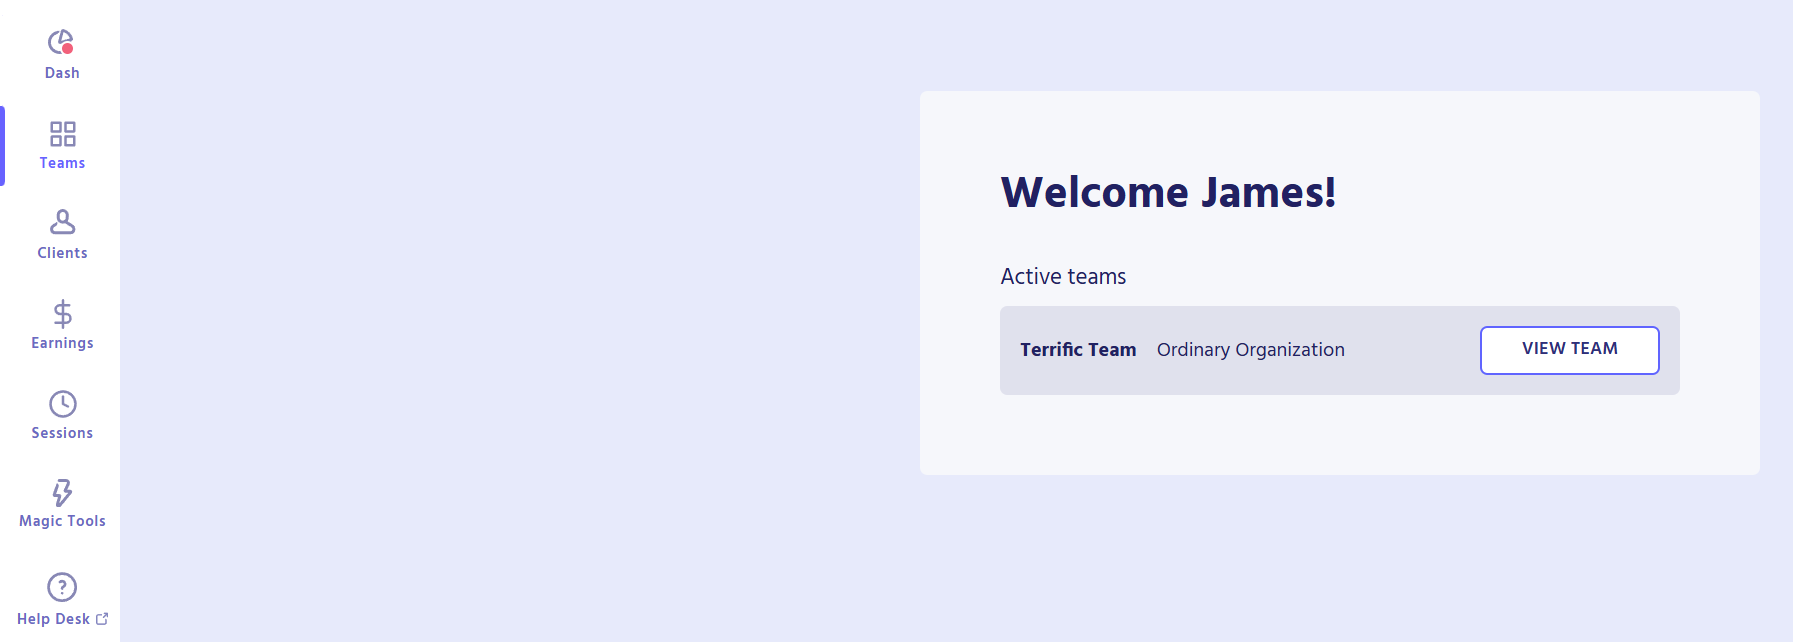
Teams
After signing into your Magic Workspace account, a banner will display the Active teams you are part of. A “team” represents a role you are assigned to. If you work with two different clients, you will have two active teams listed on your dashboard.
Go Online/Offline
To begin or end a work session, select your team on the Workspace Dashboard and click either the Go Online or Go Offline button each time you start or end a work session.

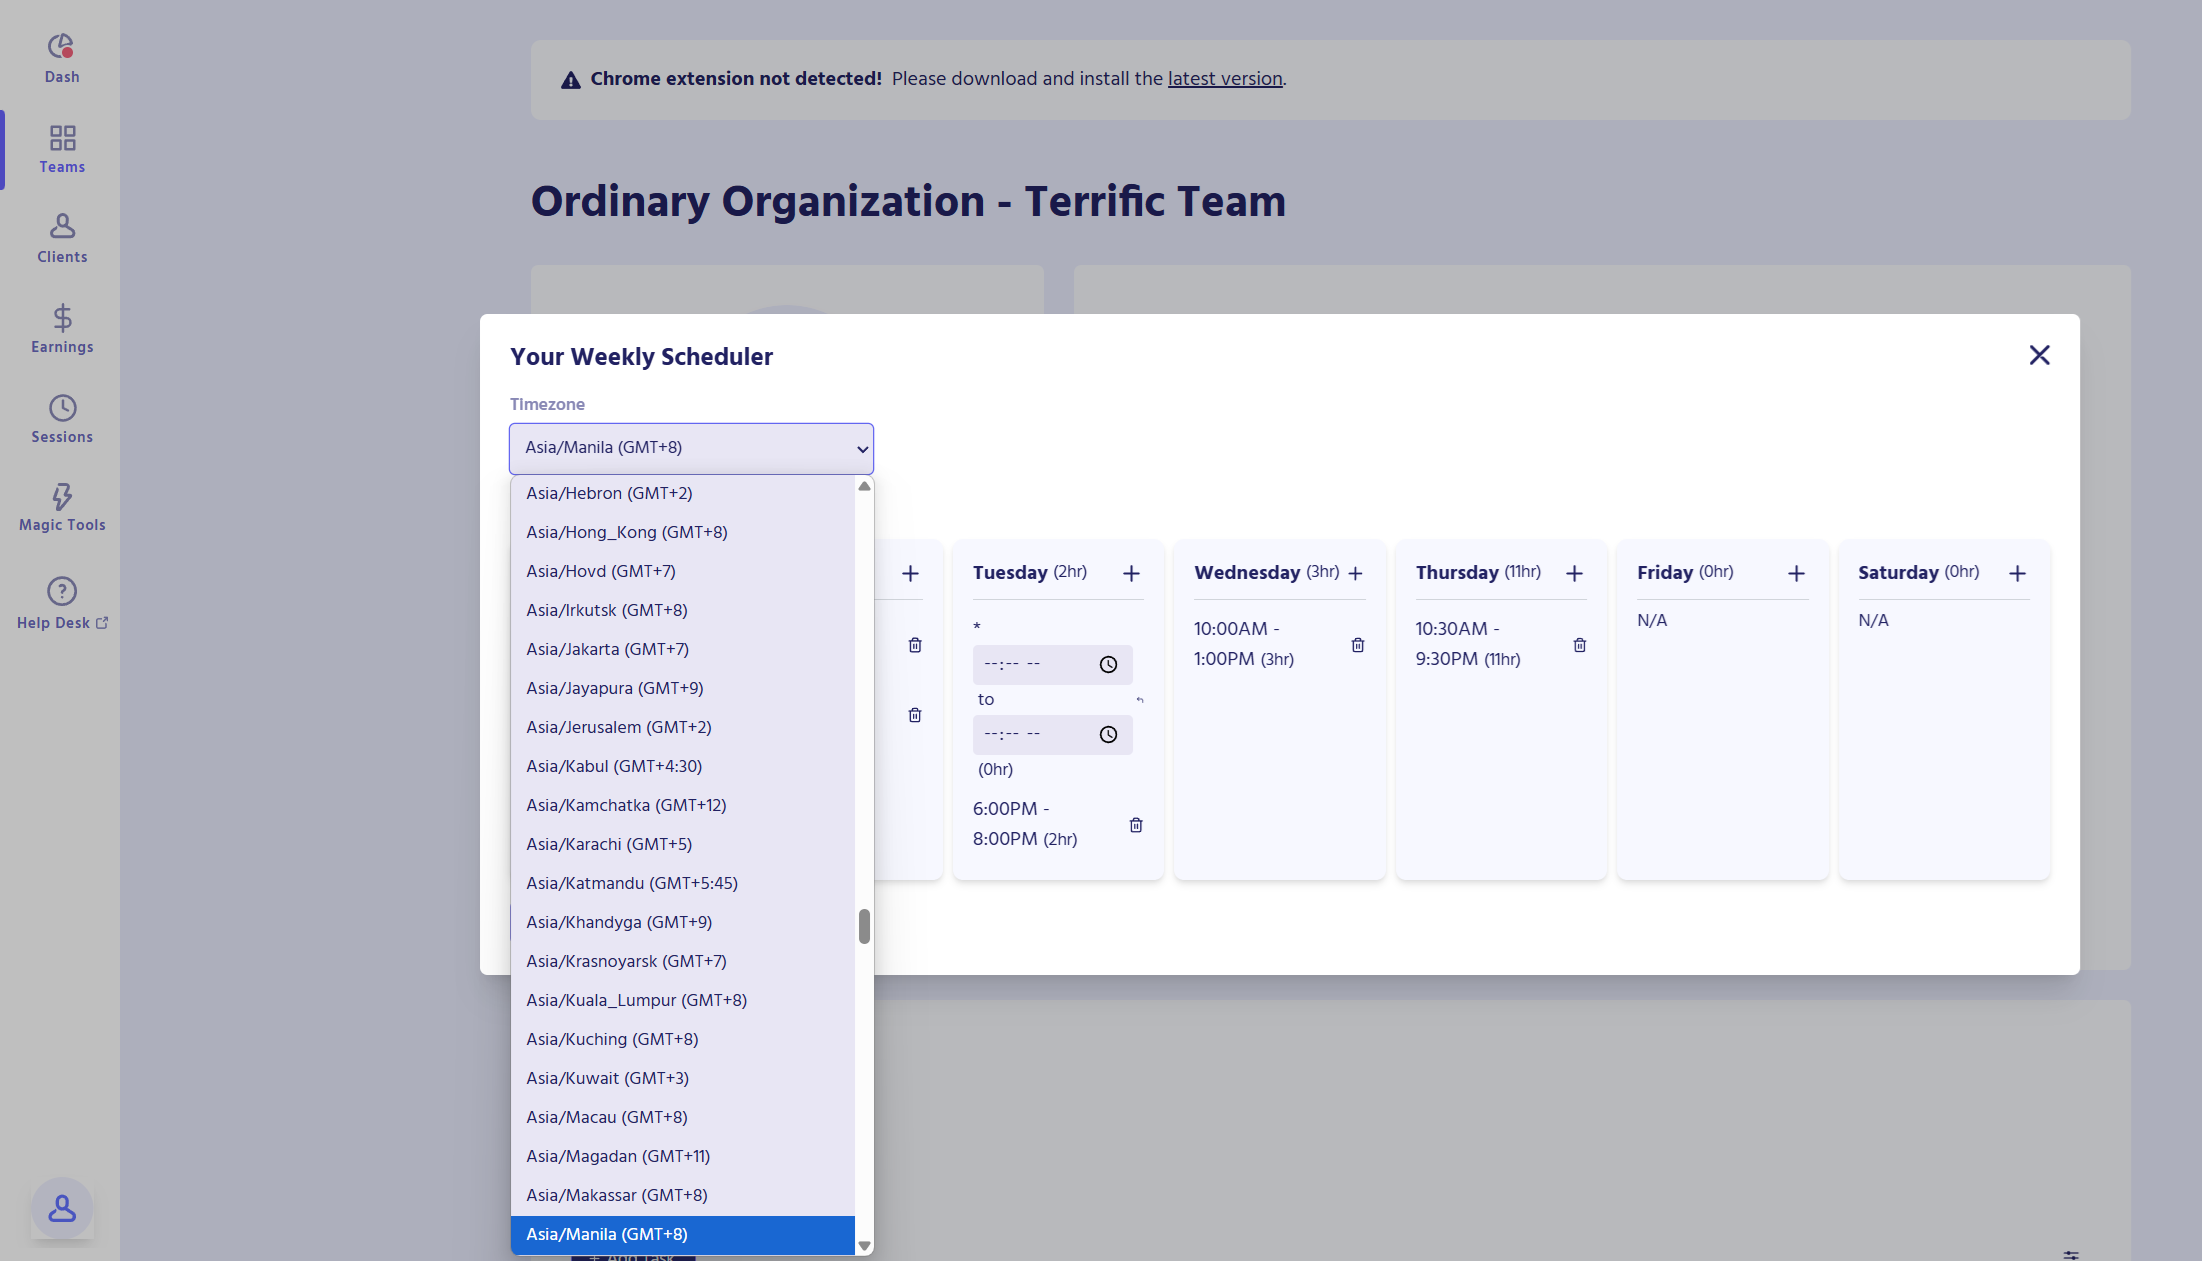
Your Schedule
To set up your weekly schedule, go to the Workspace Dashboard, select your team, and click the pencil icon. Then, click “Add New”, enter your work hours using your computer’s time zone, and click “Add Schedule”. If your schedule stays the same, you only need to enter it once, but you can edit it anytime if there are changes.
You can also set your preferred time zone using the dropdown menu. Below it, you’ll see your total weekly hours based on the schedule you’ve added. To update your schedule, click the (+) button beside a day to add a shift or the trash icon to remove one. Don’t forget to click “Save Changes” to apply your updates.
Note: Make sure to follow the guidelines in this document to avoid being auto-clocked out of Workspace after an hour.
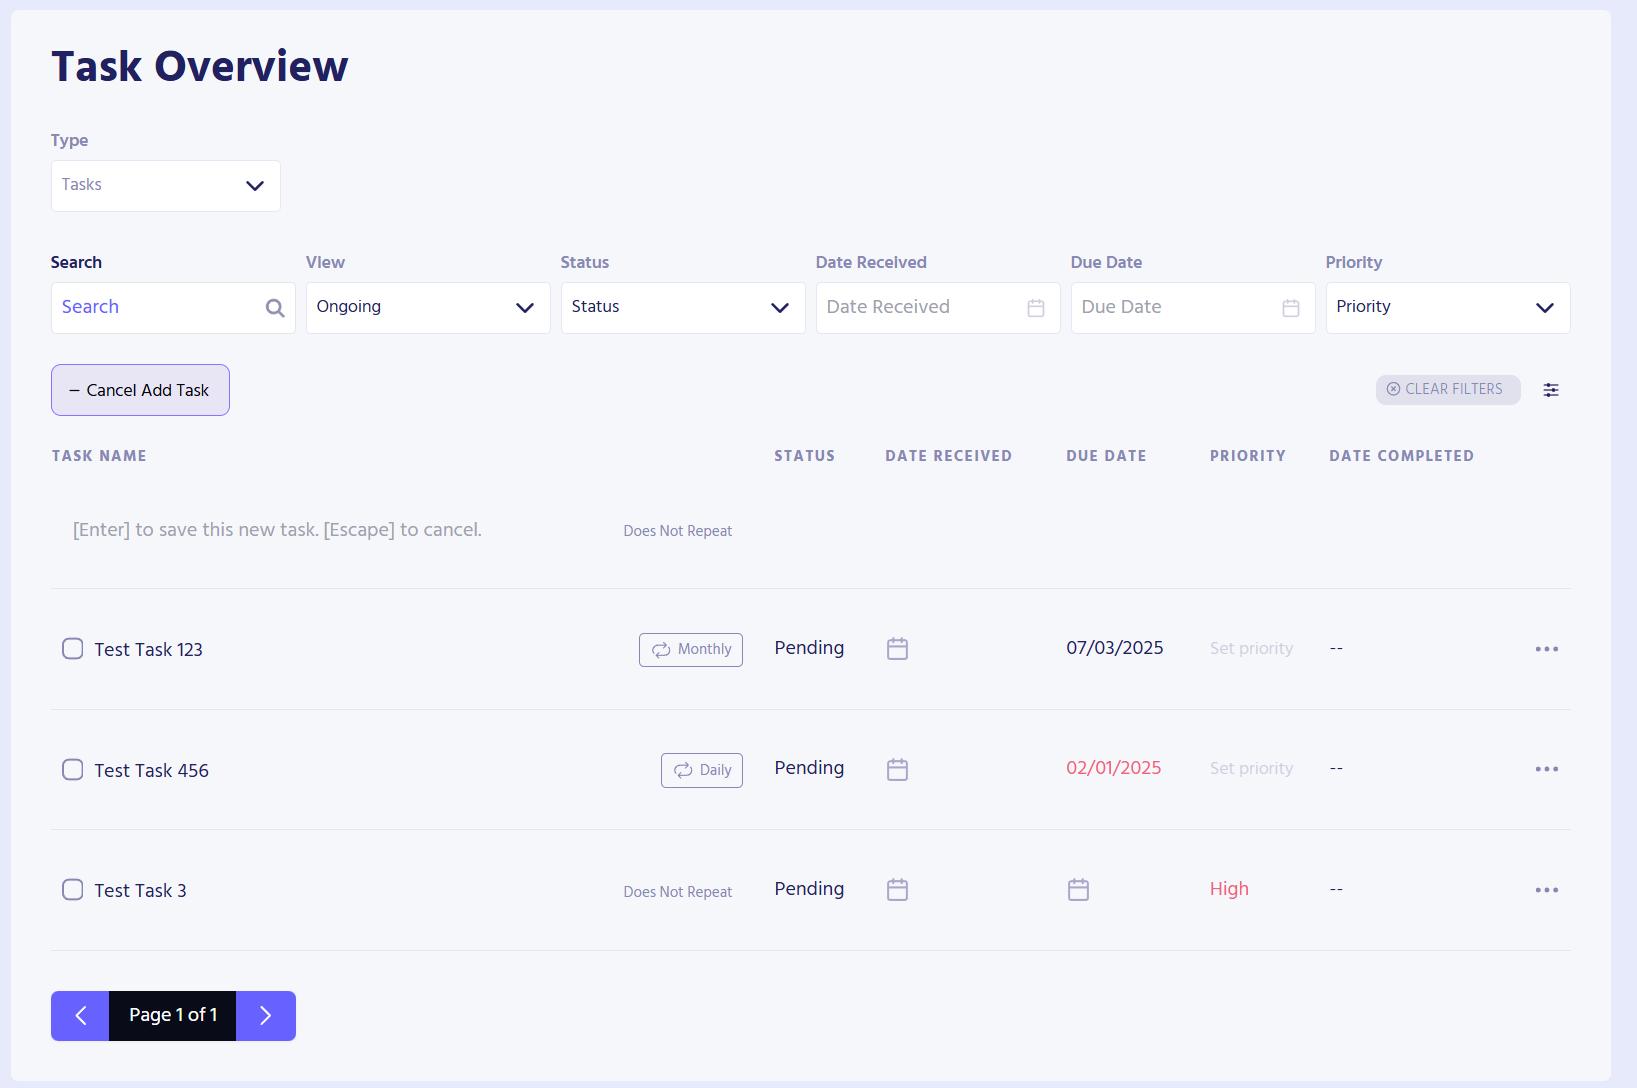
Task Overview
Adding tasks in Assistant Workspace is essential for documenting your work. To add a task:
- Click the “Add Task” button and enter your task for the day.
- Note: Make sure to follow the task naming conventions outlined in this article.
- Press Enter to save the new task, or Escape to cancel.
- Add Date Received, Due Date, and set your task’s Priority.
You can also add subtasks, overview, task updates, and next actions to your main task. Including these details ensure tasks are clear, progress is tracked, and help prioritize your next actions. Follow these steps to add subtasks and task updates:
- For your chosen main task, click •••, and choose “View”.
- A pop up window will appear, then you can add the task’s subtasks. Press Enter to save the new subtask, or Escape to cancel.
- You can also add the task’s overview, notable updates, and next actions. Once finished, click Save.
Task Status
You can change the status of your task, including marking it as complete when finished.
Filtering by Tasks and Reports
The Tasks filter shows the tasks added by the client or assistants and other details regarding each task. Assistants can play around with the filter to view their desired data per day or per status.
The Report filter shows the generated reports. Assistants can filter by date range, created by, and created at.
Task Status Definition
- Pending – task is automatically set in this status after adding into Workspace
- In Progress – task is currently being worked on
- Completed – task has been finished. It means all of the subtasks have been accomplished and no further actions is needed
- Paused – task is currently not being worked on and to be resumed later
- Canceled – task has been canceled and no longer required to be completed
- In Review – task is currently being reviewed before being tagged as completed
Recurring Tasks
- You now have an option to mark a certain task whether they are recurring or not. Below is a demo on how to show recurring button when completed.
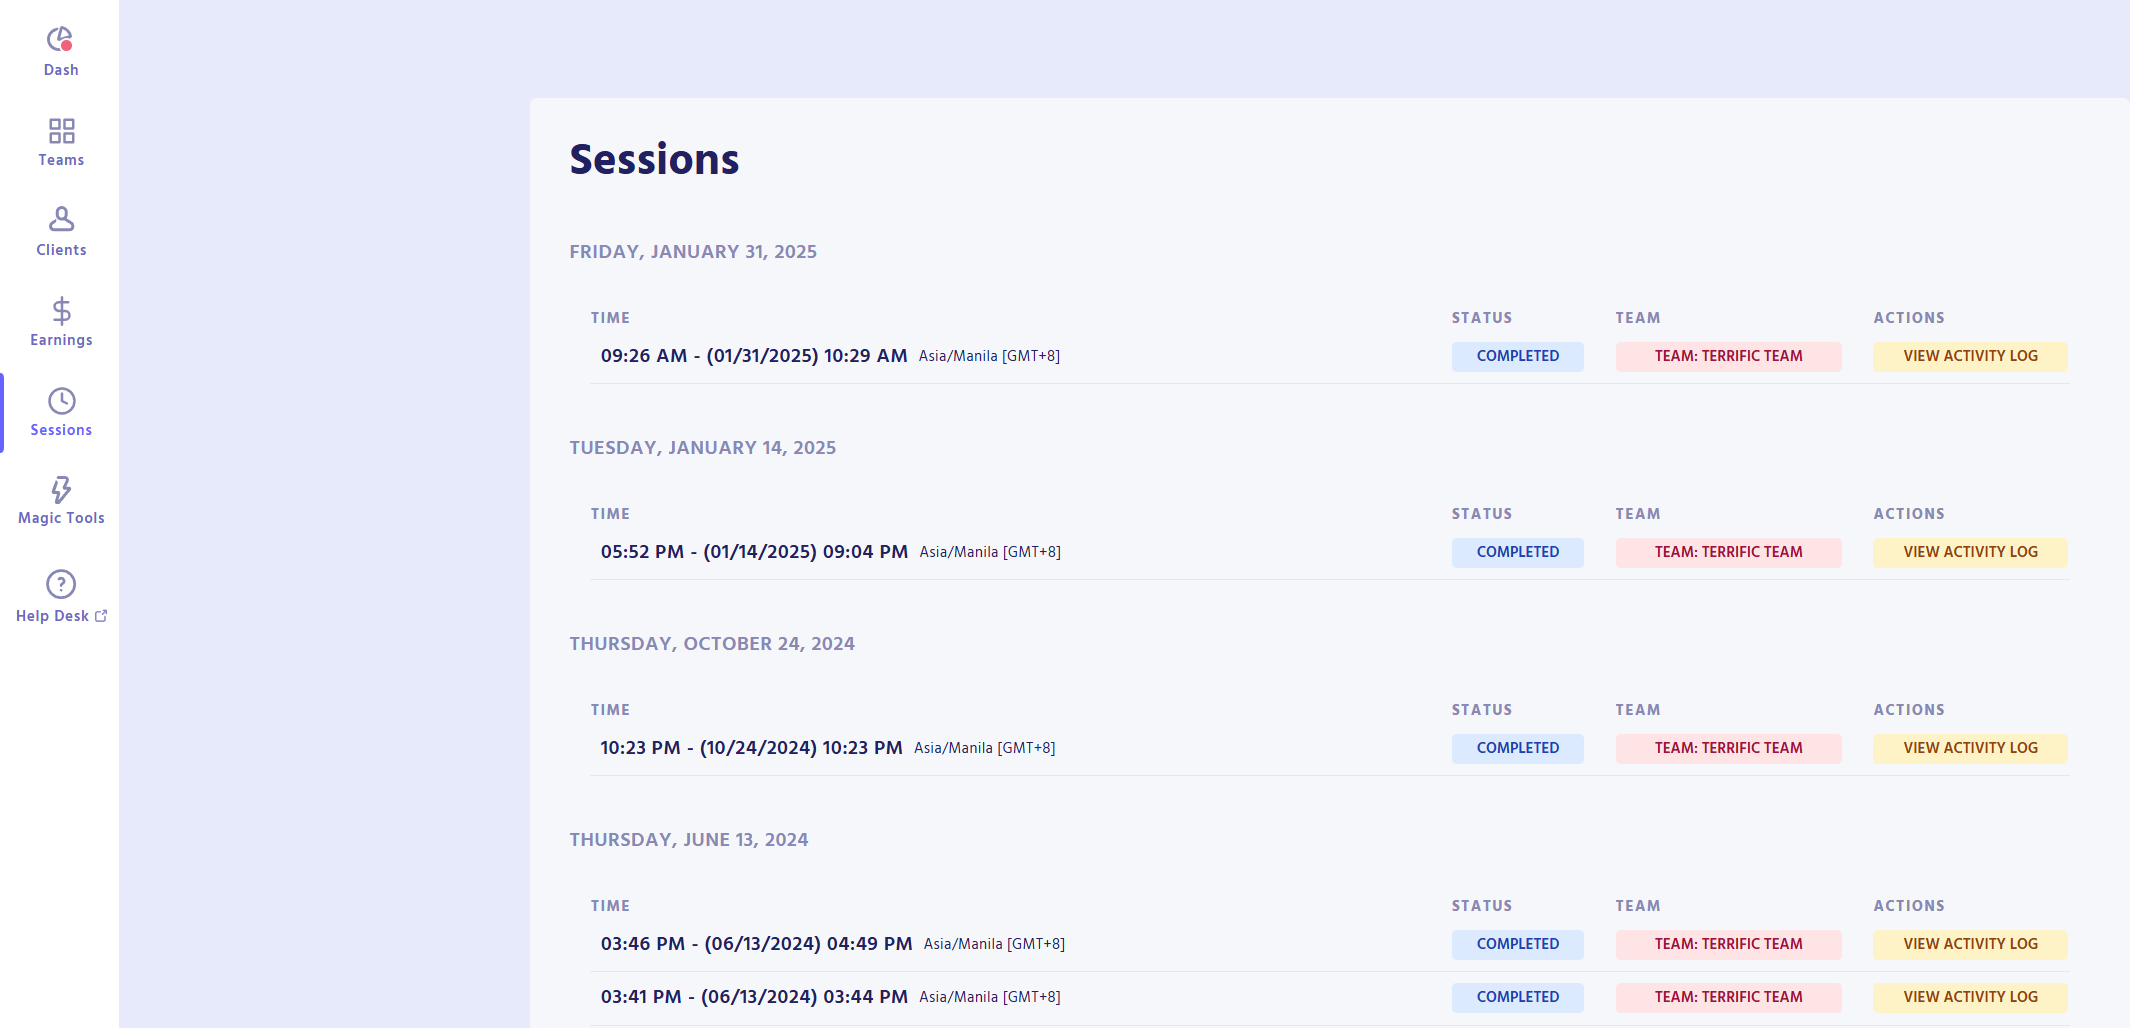
Sessions
The sessions page displays your clock in/out sessions. This page ensures that every clock in and clock out is recorded and visibly documented for reference.
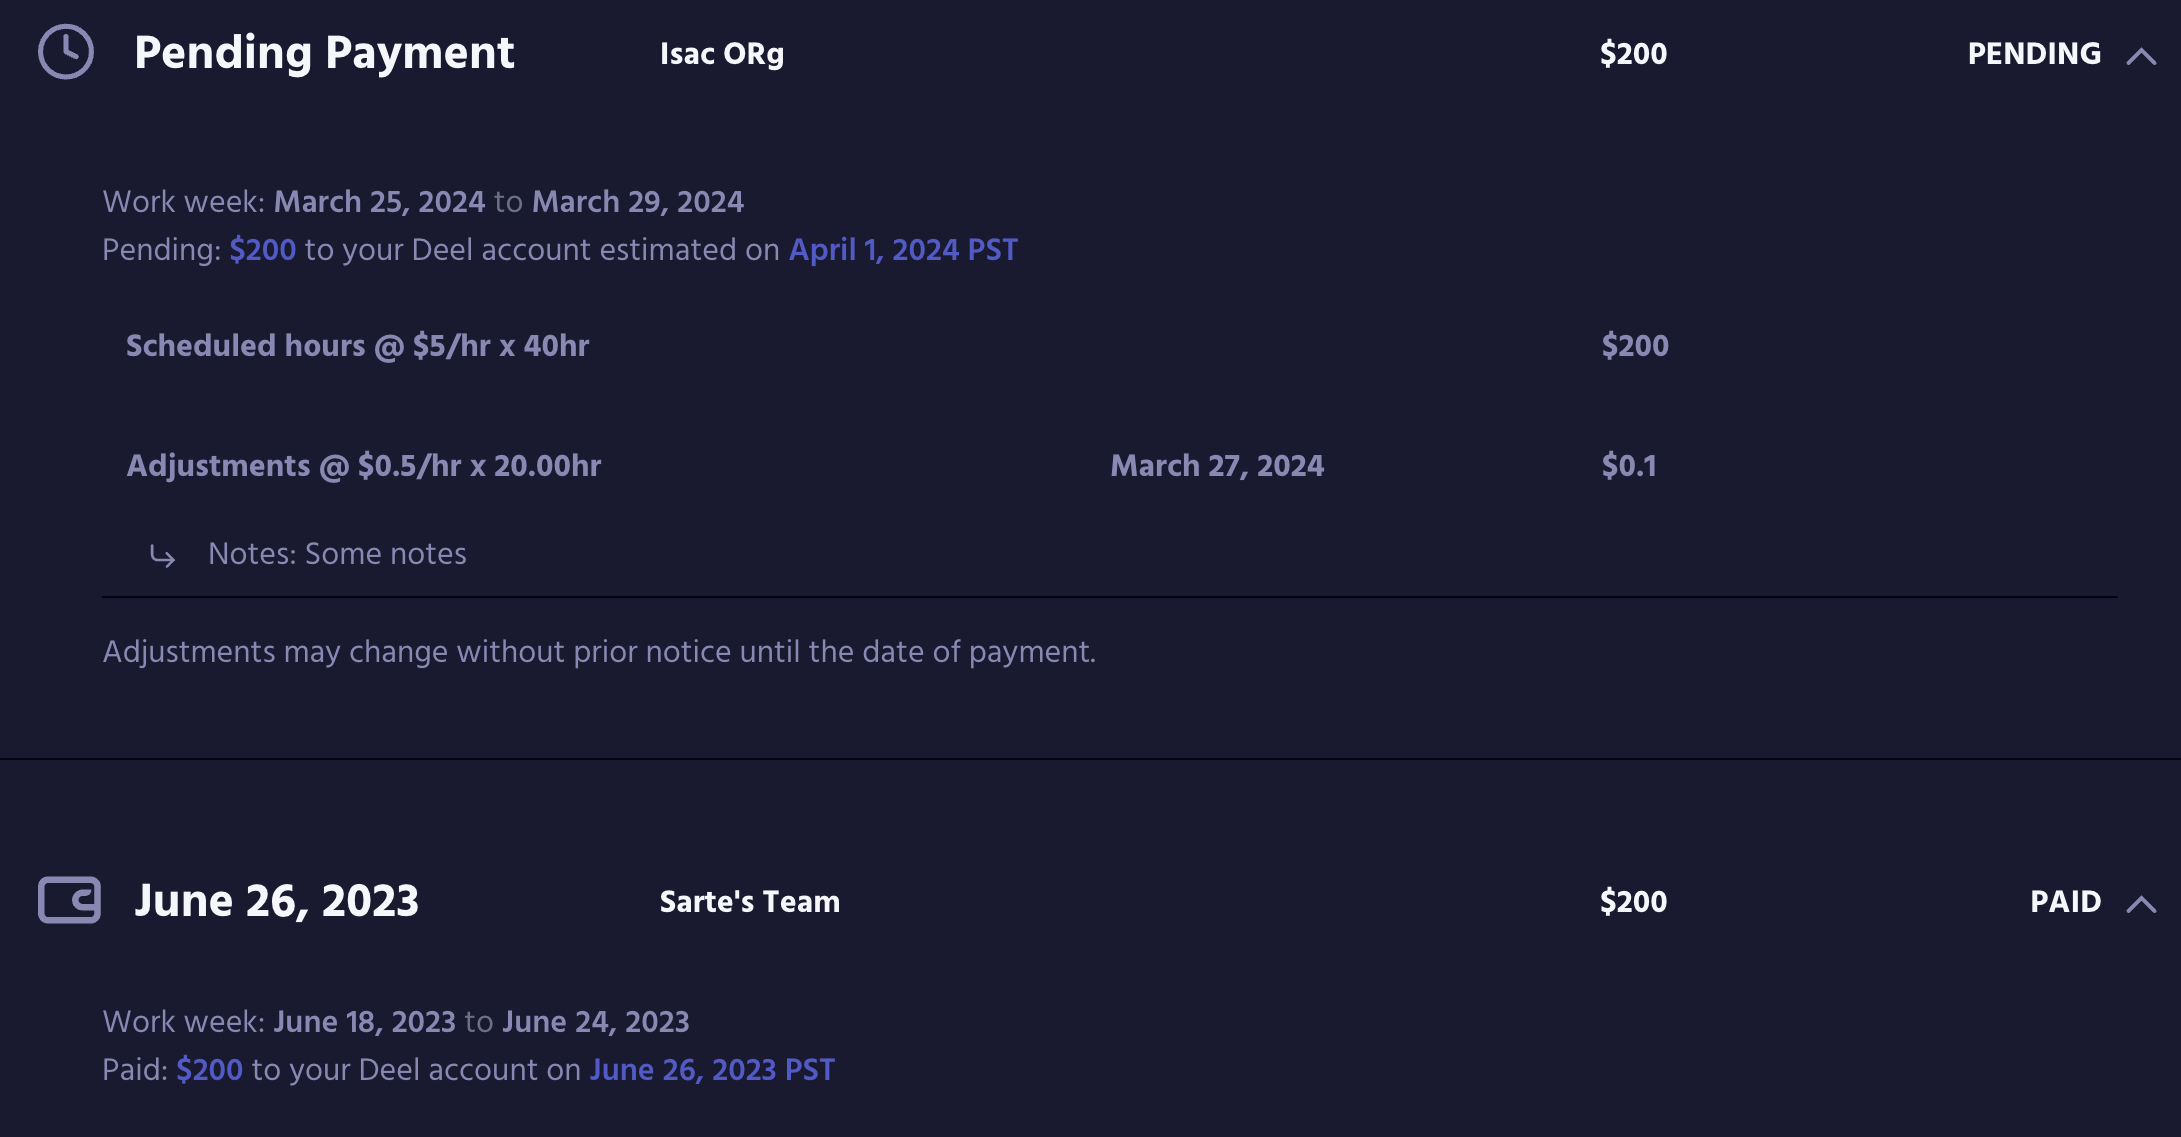
Earnings
The earnings page shows a breakdown and the expected arrival date of your payout. If your pay has not been issued yet and you need to make changes to your weekly hours, please complete the adjustment form here.
If you have issues with your pay after it’s been issued, please complete the pay inquiry form here.